How V-Ray Powered the Visual Effects of Free Guy (2021)
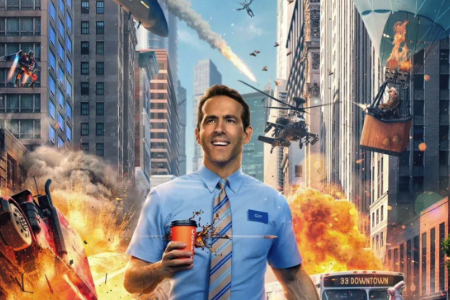
Read on as Bryan Grill, Scanline’s VFX Supervisor, explains how V-Ray for 3ds Max helped bring videogame mayhem to the big screen. To celebrate Free Guy’s Academy Award and BAFTA Award nominations for best visual effects, find out how V-Ray for 3ds Max rendered set extensions, digital doubles, and downtown destruction.

About Bryan Grill
With a visual effects career spanning four decades, Bryan Grill has worked on Apollo 13, The Fifth Element, Titanic, Independence Day: Resurgence, X-Men: Dark Phoenix, and Power Rangers, as well as being nominated for Academy Awards for his work on Hereafter and Captain America: The Winter Soldier.
Free Guy was a dream come true for Scanline’s Bryan Grill. Before production even started, the seasoned VFX supervisor was reunited with old friends, working alongside production visual effects supervisor Swen Gillberg, as well as Digital Domain’s visual effects supervisors Nikos Kalaitzidis and Scott Edelstein, and Scanline producer Lisa Spence.
Free Guy was also a chance for Scanline to exploit the rendering muscle of V-Ray for 3ds Max.
More than that, the adventures of ‘Blue Shirt Guy’, portrayed by Ryan Reynolds, in a huge video game provided challenging and unusual shots, as well as an opportunity for a behind-the-scenes glimpse into the world of visual effects techniques.
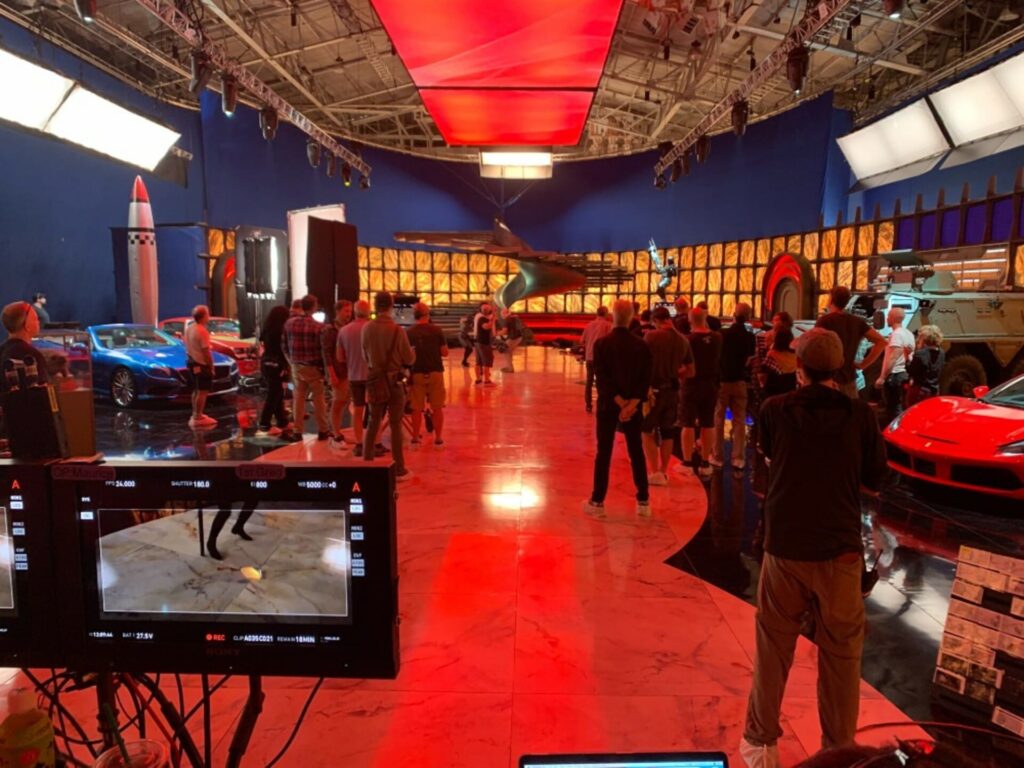
Extending the Badass Mansion
“Free Guy had a really great art director,” says Bryan. “They built these amazing sets. For the mansion, they built the very first level of the set, and then everything above it had to be designed and rendered in 3D. We had to come up with a ceiling, extend the environment, and incorporate the lighting they had on stage into our actual ceiling. Otherwise, it really wouldn’t make sense why there’s light over here, but there’s no light source above it.”
“Our modelling department went through and was able to do iterations and make changes very quickly. First, we concepted it out with our digital matte painting (DMP) department, sent it back to the director and the art director, and got feedback. At the same time, we were incorporating the geo, because it was important to start seeing how much was in-shot, depending on where we were.”
“We have this great tool at Scanline where we can create an environment, and then we plug in all the cameras, called Multi-Shot. Basically it renders out all the backgrounds and then the compositors can go in and quickly do a slap comp, or use our automated comping tools. We can flood and do anywhere between 15 and 100 shots overnight with some low-res renders. Then, we can look around our environment and start building on that.”
Digital Doubles in Free Guy
“We had digital doubles for Blue Shirt Guy and Molotov Girl (Jodie Comer). We also had to produce crowds. Molotov Girl was probably more of the hero asset that we had. We had to do quite a few face replacements during the Badass Mansion sequence, and we did all those digitally. There were quite a few shots at the end where Blue Shirt Guy is running on the bridge as it’s glitching behind. We used a digital double because the scope was so big, and we had to make sure that it integrated with what we were doing.”
Using Shared Assets
“There were quite a few vendors, and we were all sharing assets. ILM, Digital Domain, us; even Cantina Creative, who were doing all the graphics. It was the same as working on a Marvel production; everybody has a version of Iron Man, because everybody’s doing different sequences but with the same actors or assets, so there’s a lot of sharing. Thank goodness that the world of visual effects, and the technology, allows that. I’ve been in this business for a few years. Early on, it was such a chore to give another facility an asset. Everybody had their own pipelines and software, so usually, it wasn’t just plug-and-play. But now everybody’s doing the right thing, so there’s continuity and sharing is easier.”
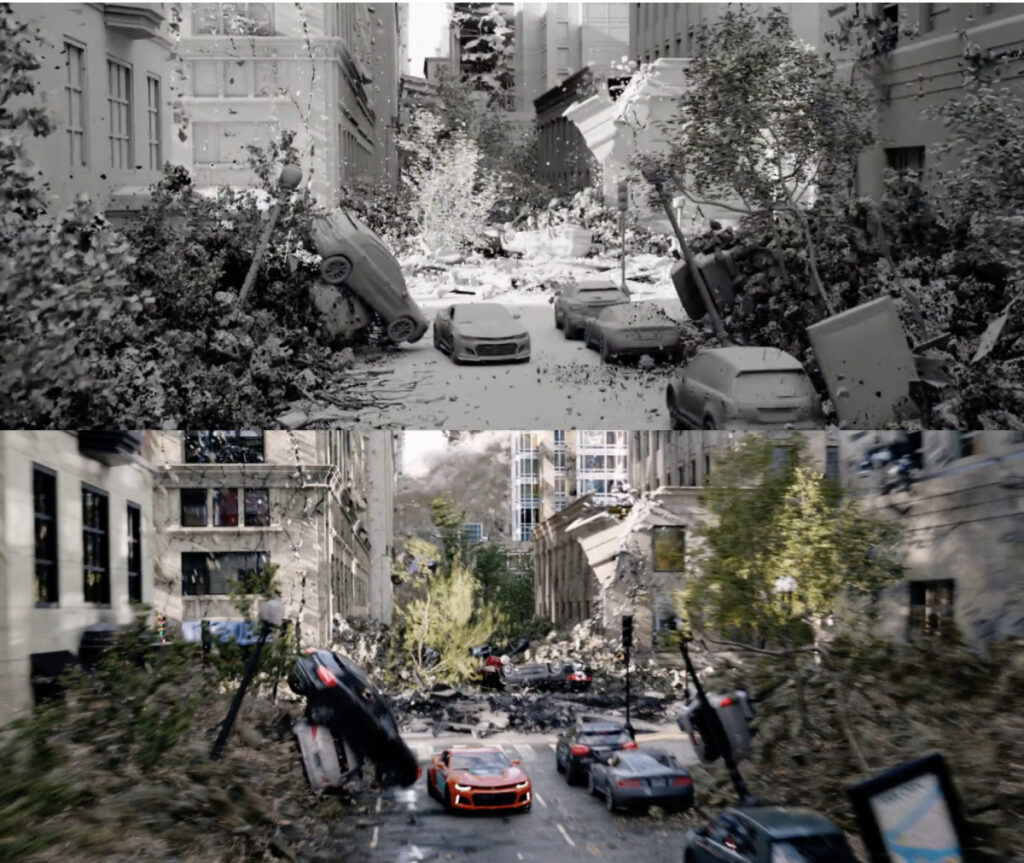
The Street Squeeze
Later in the film, ‘Blue Shirt Guy’ has to escape a “Street Squeeze,” where entire city blocks move together, crushing everything in their path (video above). Creating this sequence called upon Scanline’s expertise to extend two Boston blocks into 12.
“The previz teams and layout teams were heroes here. We had the buildings that we scanned, LIDARed and textured, but then we have a library. We’ve done a few movies where we’ve had cities destructing, like San Andreas, where we had to build all of San Francisco. The teams could take the buildings in our library and then make sure that the designs fit into what was shot in Boston, and just rebuild.”
“From a look development standpoint, we would then do what we call jump cams where we can, through those same cameras, pick first, middle, and last frames of hero shots. Because they’re just one-frame renders, we can iterate again overnight. You hit a button and then see the latest look-developed buildings, environment, streets, and props.”
“That way, we’re only concentrating on the build and the modelling of the city areas we’re seeing through the camera. For the Street Squeeze, we shot on two blocks in Boston. We used those two blocks as our base for buildings and the overall look of Free City during the chase sequence. Then, we ended up having to create 12 blocks because that’s how long it took for the whole chase to travel. You don’t want to go and build 12 blocks of buildings in a city at super high-res for every square inch. So we dialed it in where the camera’s looking, and then we would up-res and make it look beautiful based on that. It really helped out a lot.”
How V-Ray Helped Render the World of Free Guy
“V-Ray is our main renderer. For this movie in particular, especially the street squeeze and the 12 blocks of buildings that we built, literally everything was rendered in-camera and we would separate it out for comp purposes. But to get that real city look, everything was dependent on everything else.”
“For example, we would take a city block, we’d have a real plate that we shot. You would notice that one side of the street would be getting hit with light, the other side would be in shadow, but then, the glass windows would be reflecting the sun and that reflection would be bouncing off the building next to it or on the ground. And then, the windows themselves, they were not perfect mirrors. We did tons of developing on this warble to make it look as we’re passing by the buildings.”
“It had that organic feel to the windows; some were glass, maybe some were plastic, some pieces of glass were tinted, others weren’t. We were analysing the real world and duplicating it in our CG environment. For every shot, we did a turntable so we could see where the shadows were, where the reflections were bouncing off the buildings, and we’d handpick what we thought looked the best. It was so important that V-Ray could handle everything.”
“On top of that, we had effects of buildings collapsing, the ground breaking, and then that needed to be reflected into the buildings across the street, or the car, or other cars. So that’s why everything was in-camera.
The render times were pretty long, but it was needed because if you drive down the street, there’s just so many things that you take for granted. When you try to duplicate that and add all the extra stuff, you can’t cut any corners because it falls apart very quickly. That was V-Ray’s biggest achievement. We could get all that, render it all together, and then, at the same time, output layers so compositing could get the elements.”
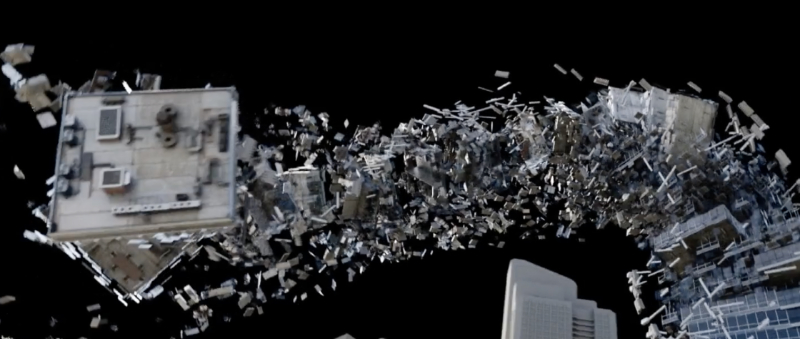
Achieving Glitch Effects
“That was definitely a look development challenge. Swen knew it was a big task early on. We had done some tests based on his initial ideas. We had about five different versions of rigid body dynamics (RBD) real-world collapsing, but with a twist, so to speak, to give it a little bit more of a digital computer-like feel.”
“Out of the five versions, there were three that we mashed together to come up with the look. It’s a very quick disturbance, and then you see through the texture and the wireframe, showing you that this is not a real thing and it’s a digital build. Some frames were just the flat texture and then the wireframe. We were using our knowledge of how we build those worlds.”
“Then there was the RBD kind of destruction. We wanted to make it feel like this was coming down in an earthquake, but then we used a lot of building destruction reference in a normal, physical way and put a digital twist on it, so the pieces break and rotate and suck into each other. So it was like this fall-twist-suck, fall-twist-suck, and then we added the other details by layering flat textures and wireframes, adding glow edges, just making it look a little electronic. But Shawn (Levy, the Director) didn’t want it to be too electronic-looking, so it was a balance of how we put it together.”
Chaos V-Ray is available now at VFX Software Direct. Try V-Ray Free Today!